 |  | 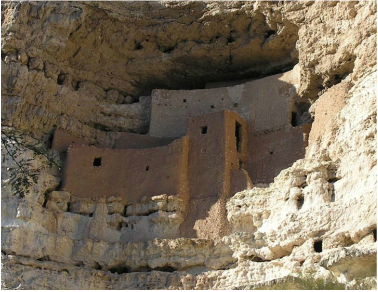 Montezuma castle |
So the project theme was "abode" which I mistook for "adobe", so I made a adobe abode.
I was entering into foreign territory with this project, and as far as I can tell from my desperate google searching on this medium, I am the only human in the history of the human race to have ever carved anything into an adobe brick. And as far as pioneering new art forms, this went very well, but only out of luck. I did total guesswork on the properties of adobe and luckily for me my guesses were mostly correct. As celebration, I shall now grace the world with the first ever tutorial for adobe art.
Materials
- Sand: Note: if the soil you are using already has sand in it, additional sand may not be necessary.
- Soil: A type of soil with a decent clay content. Potting mix/gardening soil will not work for making adobe, and I learned the hard way that it actually hinders carving. Instead, just dig up some dirt from outside. I live in North Carolina, so the clay content of the soil was more than sufficient for my needs.
- Plant fiber: Plant fibers, such as pine needles (what I used), straw (which is what is usually used in making adobe), or small twigs, are necessary in maintaining the structural integrity of the brick.
- Water: Two parts hydrogen, one part oxygen. Found in faucets and 15-300 yards underground.
- Tools: Something for pressing down loose soil, something for brushing away loose particles, and something for carving (See fig. 1).
- Pan/Mold: One needs a pan of some sort to pour the pre-adobe juice into for drying. Cake pans work great. It is also possible to make an adobe form out of a mold, rather that carving it (like I did). In that case, you would obviously need a mold. If you do not want to ruin the pan/mold, I suggest putting a layer of plastic over it.
- Mixing bowl: For making the adobe mixture. Fear not, it's basically mud and can be easily washed off of ceramics.
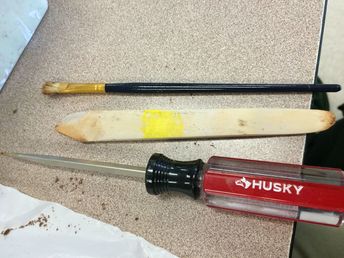
fig. 1. Brush for brushing, wood thing for pressing, screwdriver for carving.
Procedure: Making the adobe
- To carve adobe, one must first make adobe. To make adobe, one must first make the adobe mixture. Put soil into the bowl. Depending on how sandy you want the final product to be, you may want a lot of sand or just a little. I'm not sure if sand effects the structural integrity of the adobe, but it's probably safest to not go overboard; make sure the dirt mixture is no more than ~65% sand. Keep in mind, adobe will take on the majority of its sandy color only after it has dried.
- Mix the dry soil & sand. You might as well use your hands for this; the next steps (SPOILER ALERT) will involve your hands getting much messier.
- Add water. Again, don't go too overboard. Aim for patch-of-dirt-the-day-after-a-moderate-rainstorm consistency. Somewhere between cookie dough and muffin batter.
- Mix the soil, sand, and water. Traditionally, adobe makers do this in a pit using their feet, but we're in the 21st century; we use our hands. 5-10 minutes of mixing with your bear hands should do the trick (it may take longer if you are making a lot of adobe). Make sure everything is evenly mixed; unmixed material tends to collect on the sides and bottom of the mixing bowl. As you mix, feel free to adjust contents of sand, soil, and water.
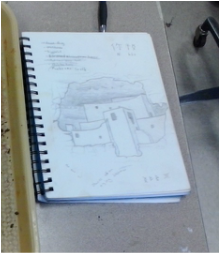
- Add the plant fiber. The amount you used will vary depending on what you are using as plant fiber and how big your adobe thing is going to be, but for mine (for size comparison, see fig. 2) a handful or two of pine needles was more than enough. Mix it in.
- After the mixture is adequately mixed, pour it into the pan/mold. Now, most adobe making tutorials will tell you to place the adobe in the sun to bake. I did not have the ability to do this; Apex was having it's monsoon season when I was making this adobe, so I placed it in a warm room. I later found out this is LESS preferable than placing it in a dry room; if it is in a dry room, the adobe will dry much faster.
- Wait a couple of days for the adobe to dry. Adobe will fully dry in 1-3 weeks, but we want to carve it BEFORE it is dry. I waited a couple of days until my brick was dry enough to maintain its structure, then took it out of the pan. I waited another day until I started carving it. Check on your adobe regularly and use your judgement to see when it is ready. For me, I found it helped to read stories to my adobe every day.
- If you are using a mold, your journey ends here! Just wait for it to dry.
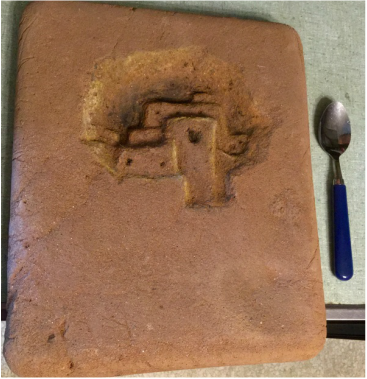
fig. 2. Size comparison.
Procedure: Adding the art
- When you start carving, it should have the consistency of a brick of raw cookie doe. People, at this point, should be saying that your adobe looks like a delicious baked good. On my first day of carving, all I did was make an outline. I suggest you do the same if your brick is still rather damp.
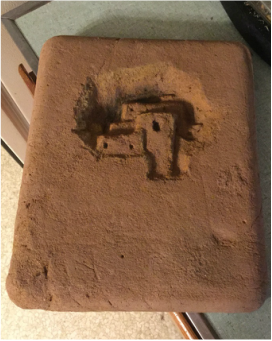
- Time to start actually carving. I did the majority of my carving with a screwdriver, and then used a pressy wood thing (fig. 1) to press down loose mud and flatten the walls of the castle I was making (fig. 3); don't underestimate the usefulness of the pressy wood thing. I found that as the days went on and my brick got dryer, particles of adobe got caught in the crevices of my design; I used a acrylic paintbrush brush to brush them out (fig. 4).
- If the adobe isn't already dry by the time you finish carving, wait for it to dry.
- Done! Serve using bone saw.
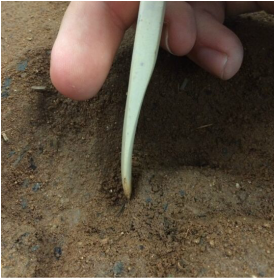 fig. 3. Pressing dirt using my trusty pressy wood thing. | 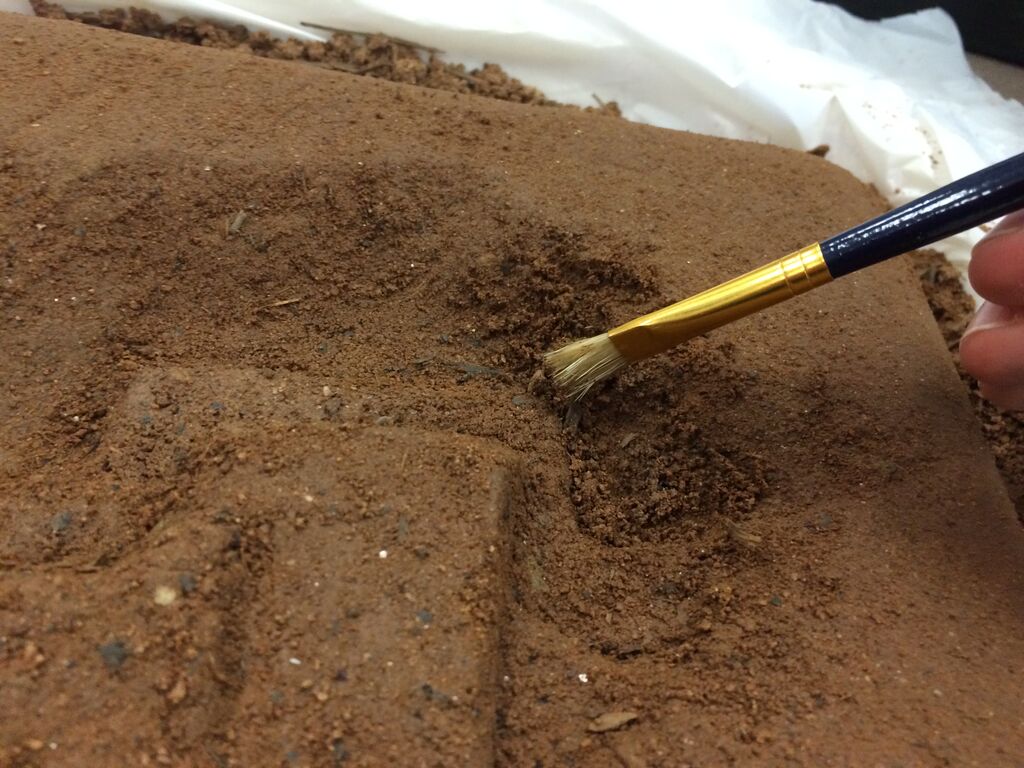 fig. 4. Using an acrylic brush to foil those maniacal particles. |
Tips
- As you are carving, you will probably encounter rocks (fig. 5) and parts of whatever plant fiber you used (fig 6). Be very careful removing/cutting these things; they may uproot part of your design.
- If you're done carving and you find that you're design doesn't "pop out" to your desire, this can be remedied by adding some chalk pastels to the edges of your design; for mine, I used yellow and orange pastels to highlight the contours of my castle (fig. 7). Note: These will somewhat fade over time.
- Remember, dry adobe is distinctly lighter than not dry adobe. First it will look like mud, then it will look like dirt, then it will look like sandy clay.
- As the adobe starts to dry, you will find it becomes quite crumbly around the edges and on the design. Fear not, for once the adobe is fully dry it will no longer crumble so easily.
- You know your adobe is drying when patches of lighter color start to form around the sides of the brick.
- You know it is fully dry when it is cold to the touch, when trying to scratch/dent it with your nail leaves no marks, and when you punch it, it A) doesn't break and B) hurts your fist a lot.
- If you are sadistic, bring a pan of undried adobe to a group of unsuspecting victims and tell them it is a baked good. Pass out forks. Hilarity will surely ensue. You monster.
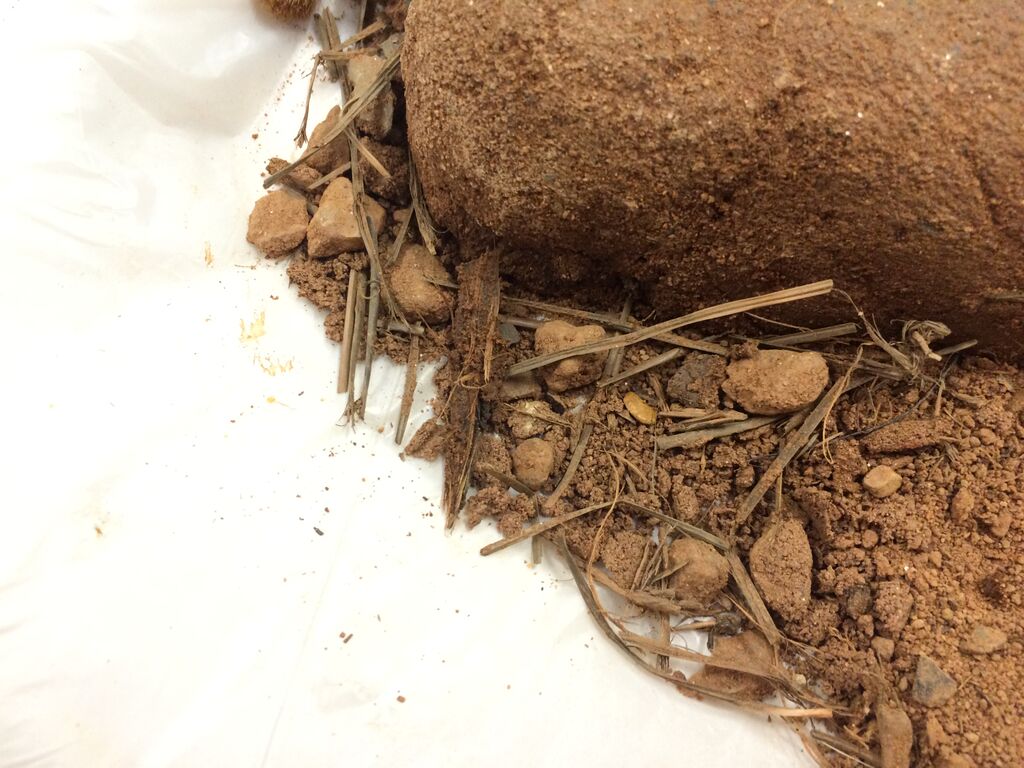 fig. 5. Rocks and assorted artifacts. | 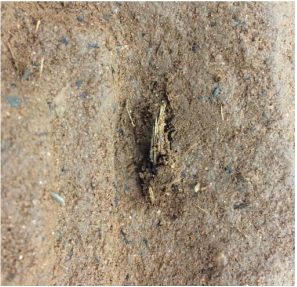 fig. 6. A rather fiendish bit of pine needle that was a pain to remove. |
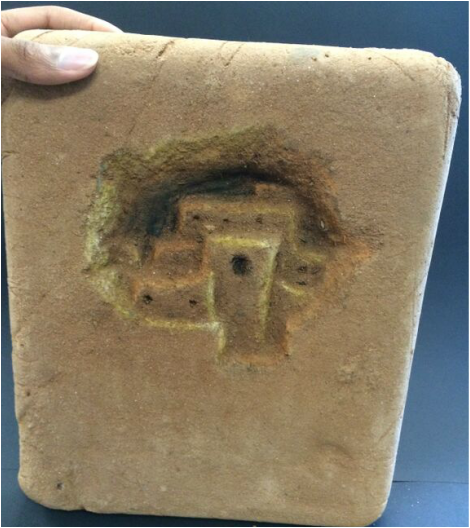
fig. 7. Here the chalk pastel outlines are clearly visible. Guest starring Alex's hand.
 RSS Feed
